
stitch with us resources
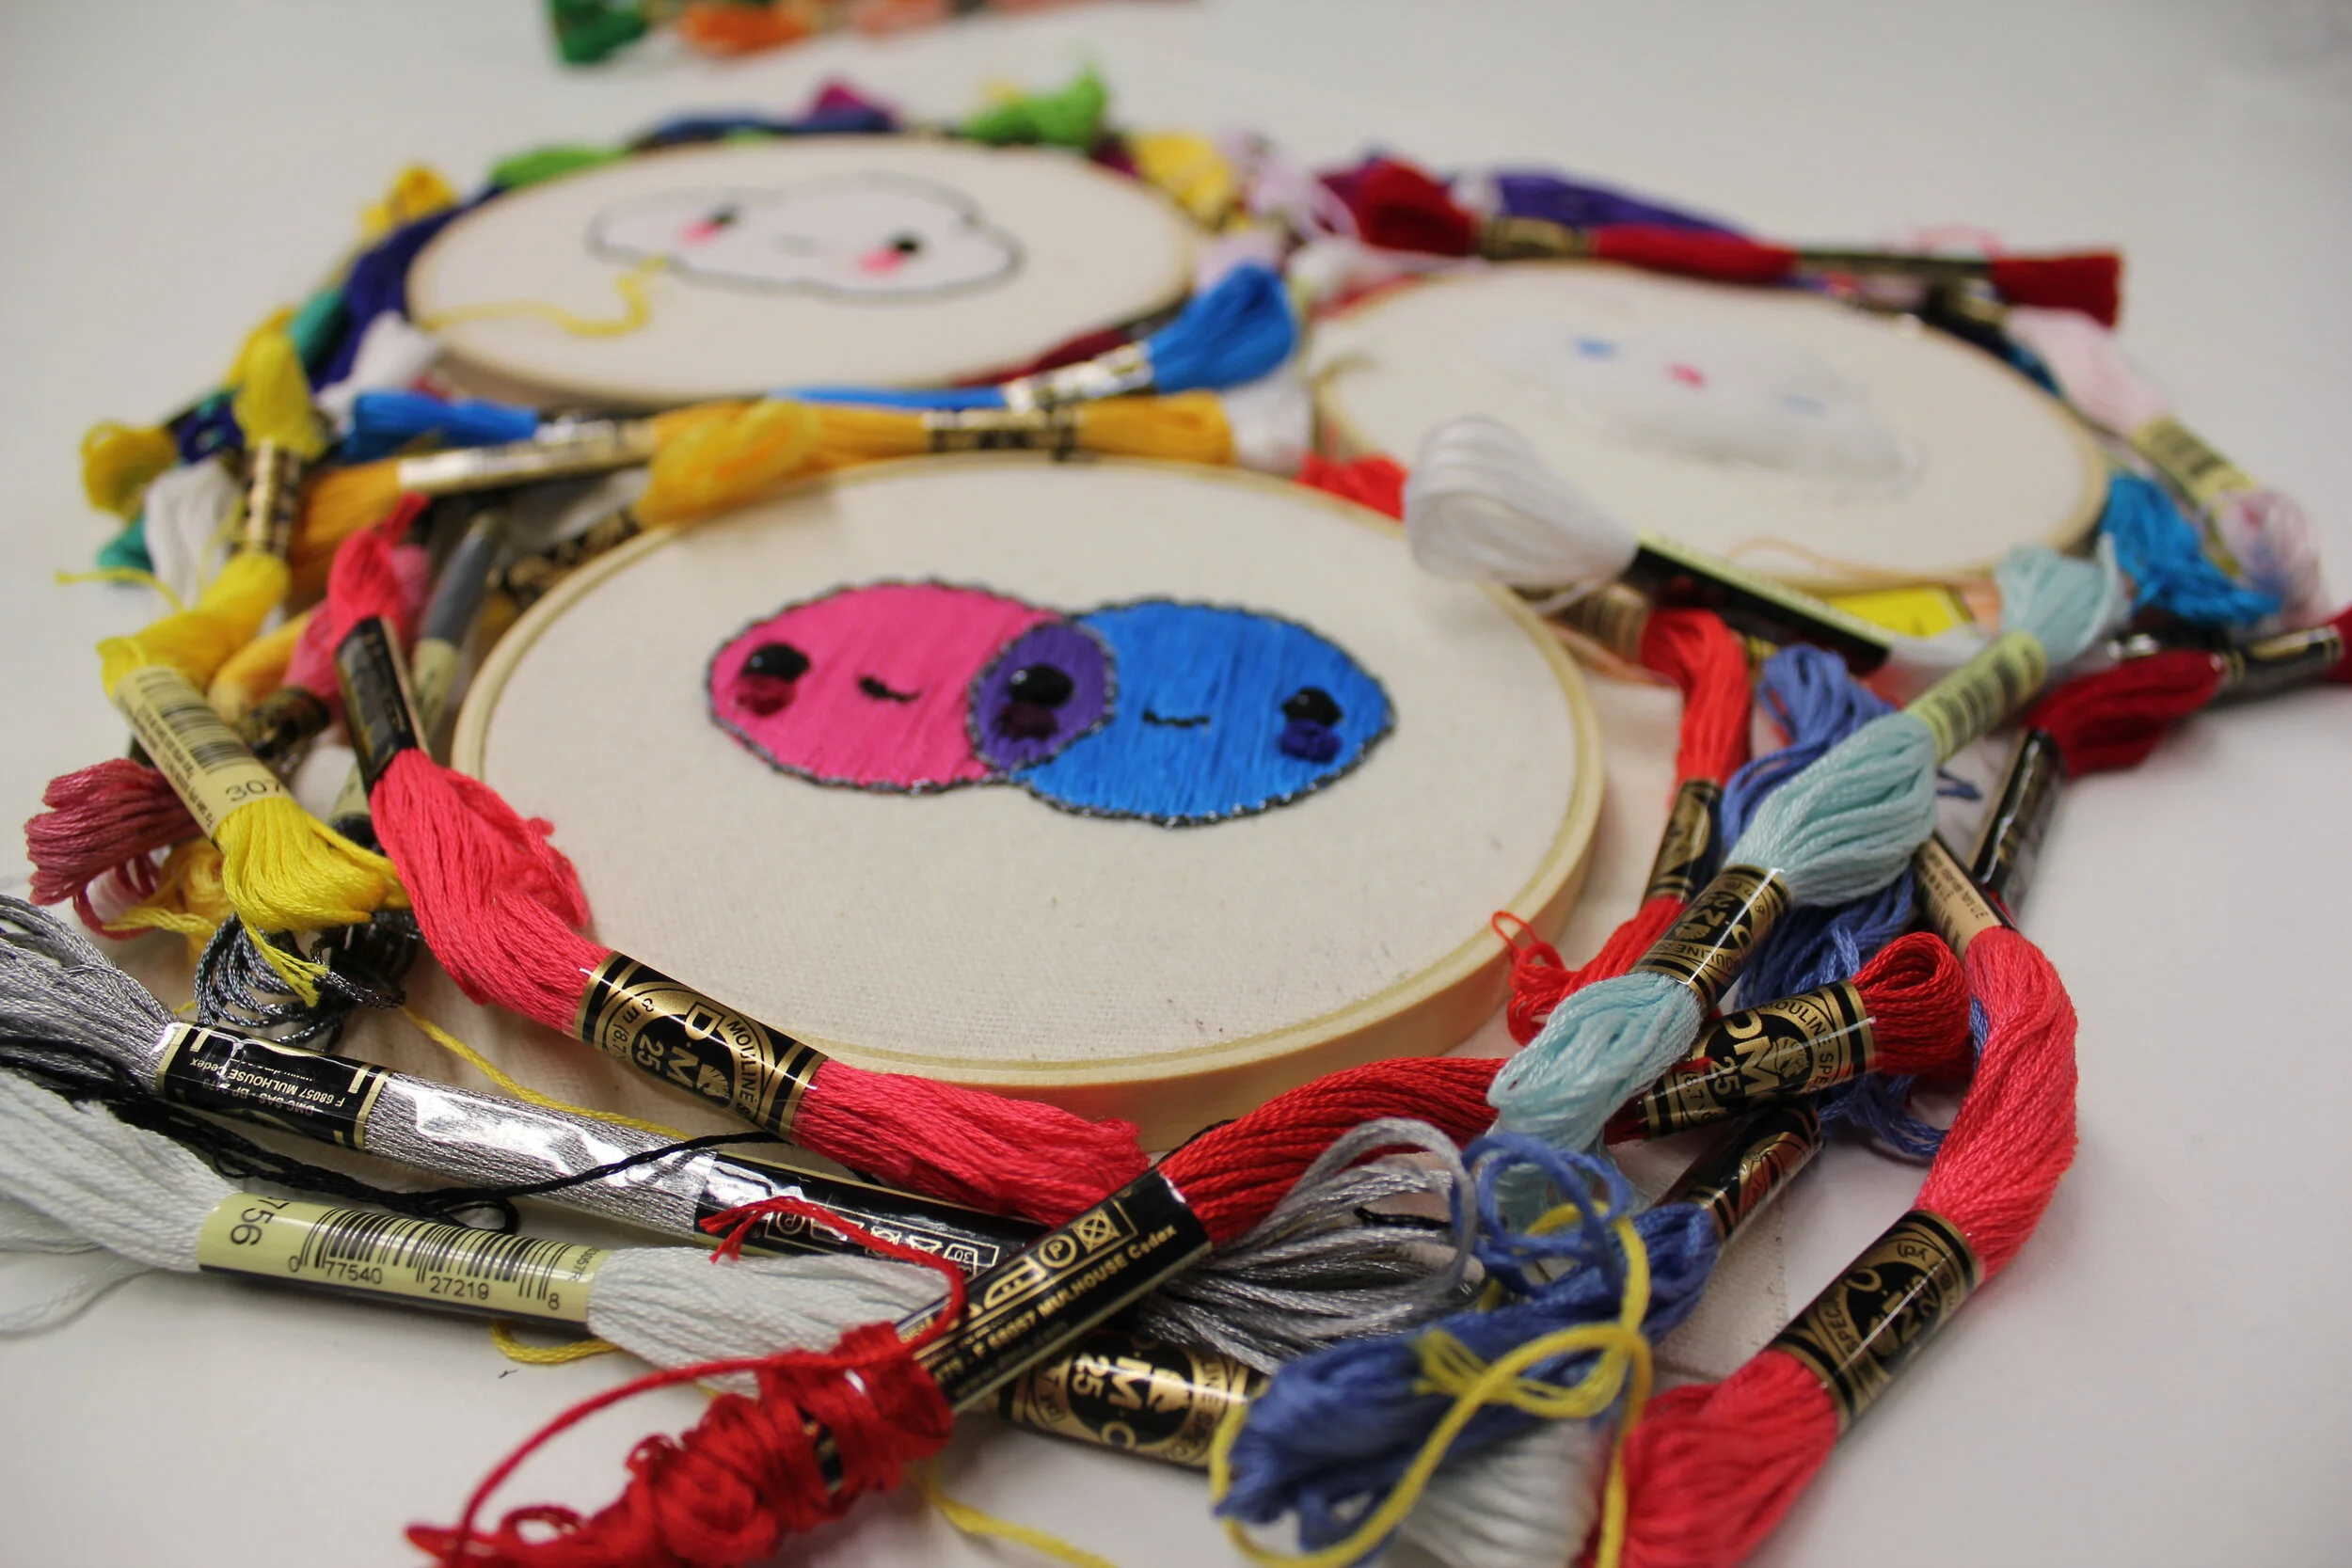
stitch with us (9.10.20) recorded session
fitting the hoop
remove the outer hoop by twisting the screw counter clockwise to loosen it.
center your fabric square face up over the smaller, inner hoop.
set the outer hoop back over the inner hoop + fabric, + press it down evenly to secure it.
if it feels too tight to press down, loosen the screw slightly + try again.
once the hoop is secured, re-tighten the screw + lightly pull around the edges of the fabric square until it is taut.
if you flick the center of your fabric + it doesn’t sag or give, your fabric square is secure.

threading the needle
unspool some thread from your bobbin + trim the end for a clean cut.
hold the needle in one hand between your thumb + forefinger, + the thread in the other hand between your thumb + forefinger.
push the thread through the eye of the needle.
once the needle is threaded, pull a few inches of the thread through the needle to create a tail. this tail will prevent the thread from slipping back out while you are stitching.
splitting the thread
if your embroidery floss seems too thick for your fabric or needle, you can split it into smaller thread groupings.
the floss provided in your party pack is made up of 6 individual threads.
start the split by separating the threads at one of your cut ends. we suggest splitting your floss in half, or 3 + 3 groupings.
slowly unravel the two groups, making sure that no knots are being created along the way.
it helps to secure the other end of the floss with tape or something heavy, so that it remains tight while you are pulling the strands apart.
knotting the thread
pinch the end of your thread between your thumb + forefinger.
wrap the thread around your forefinger lightly 2 or 3 times.
while pinching with your thumb + forefinger, twirl the threads together so that the end loops through the mix of threads.
gently remove the mixed loop from your finger + pull the thread end to tighten the knot.
knotting the thread (alt)
at the end of your thread, tie a simple knot.
reinforce your knot by adding another knot on top of it, so that it cannot pull back through the fabric.
starting the stitch
once your thread has been set on a needle and knotted at one end, you will begin each stitch from the back of your fabric.
poke your needle up through the back of the fabric to the front + pull your thread until the knot is tightly pressed against the back of the fabric.
then, push your needle down through the front of the fabric to the back about ¼” away from where you started, creating your first stitch.
you will repeat these steps with slight variances, depending on which stitching technique you decide to use.
running stitch
begin by pushing your needle up through the back of the fabric to the front, then push the needle back down through the fabric about ¼” away from where you started.
poke your needle back up through the fabric, a short distance away from the previous stitch.
push the needle back down through the fabric about ¼” away, creating your second stitch.
repeat these steps, leaving small, even spaces between your stitches.
back stitch
begin by pushing your needle up through the back of the fabric to the front, then push the needle back down through the fabric about ¼” away from where you started.
create a third insertion point by pushing your needle up through the back of the fabric again, about ¼” from the second insertion point.
loop your needle + thread back through the second insertion point, creating a stitch in the opposite direction.
poke your needle back up through the fabric about 1/4 “ from the third insertion point, and repeat the process.
tying it off
once you have completed your embroidered design you will need to tie off your thread.
flip your hoop so that the back is facing up.
pull your needle off of your thread + return it to its case.
tie a knot, tightening it as close to the surface as you can.
secure the thread with a second knot on top of the first, so that it cannot pull back through the fabric.